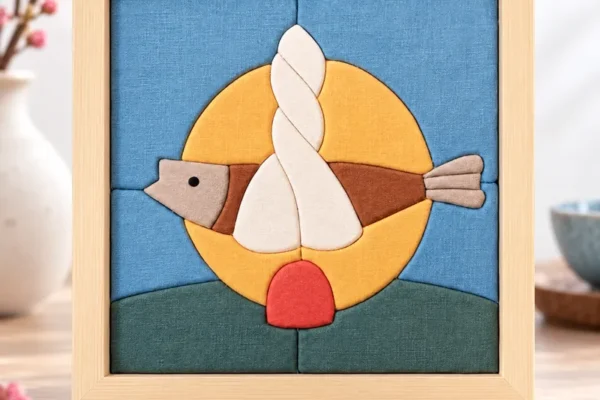
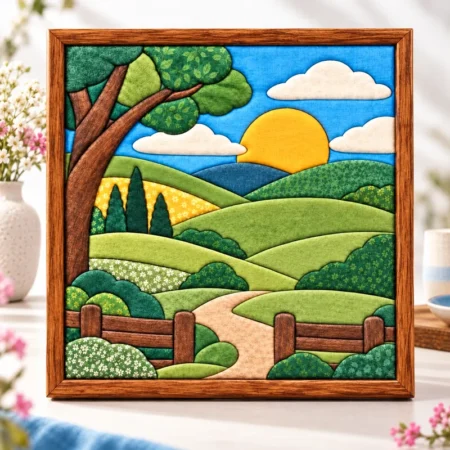
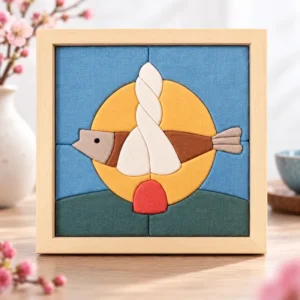
This kinusaiga tutorial takes you from a printed pattern to a finished fabric picture in 8 steps. Kinusaiga is the Japanese craft of tucking fabric edges into grooves cut into a foam board, so there is no sewing at all. A simple first piece takes most beginners an afternoon. If you have wondered how to do kinusaiga art step by step, start here.
On this page
Before you start
You need rigid foam board, a sharp craft knife, a blunt tucking tool, fabric scraps, scissors, a cutting mat and a pattern. The full list, including which foam to avoid, is in our kinusaiga supplies guide. Work at a table with good light, and keep a small dish for knife blades. This kinusaiga tutorial works with any printed pattern.
Kinusaiga tutorial step by step
1. Print the pattern at actual size
Print your PDF at “actual size” or 100%, not “fit to page”, so the templates match your foam and frame. Print a second copy to use as a color map.
2. Fix the pattern to the foam
Stick the print onto the foam with a double-sided adhesive sheet, or trace every line onto the foam with carbon transfer paper. Leave a margin of foam around the design for the outer edges.
3. Score every line
Hold the knife upright and cut along every line in one smooth stroke. Cut deep enough to hold the fabric. Most makers cut grooves about 2–3 mm deep; go a little deeper for thicker fabric, but always stay well short of the back of the board. Test the depth on a scrap of foam first. Change the blade when it starts to drag.
4. Uncover one piece at a time
If you used an adhesive sheet, peel the paper off only the piece you are about to fill. The paper on the other pieces keeps the foam clean and the numbers visible.
5. Cut the fabric with an allowance
Cut each fabric piece a little larger than its shape, so there is extra fabric on every side to push into the grooves. Thin fabric needs less allowance than thick fabric. Check the grain markers on your pattern so stripes and prints run the right way. Our guide to reading a kinusaiga pattern explains the markings.
6. Tuck the big pieces first
Lay the fabric over its shape and press one edge into the groove with the blunt tool. Then work around the shape with short, light strokes, smoothing the fabric toward the edges as you go. Start with large background areas, such as the sky or water, and finish with small details.
7. Finish the outer edges
Tuck the fabric around the outside of the design into the border groove. Many makers add a fabric border around the whole panel for a clean edge.
8. How to frame kinusaiga
Place the panel in a shadow box or a deep frame. A frame without glass shows off the texture of the fabric best.
That is how to make kinusaiga from start to finish. Once you have done it once, the same steps work for every design.
Common mistakes and how to fix them
| Problem | Usual cause | Fix |
|---|---|---|
| Fabric pops out of the groove | Groove too shallow, or not enough allowance | Re-cut the line a little deeper and cut a new piece with more allowance |
| Wrinkles in the middle | Tucking one side fully before the others | Tack each side lightly first, then tuck all the way round |
| Frayed edges show | Loose weave or too much allowance | Trim the allowance and use a tighter-woven fabric |
| Foam crumbles along the cut | Dull blade or beaded styrofoam | Change the blade; use rigid XPS foam |
Kinusaiga tutorial: quick answers
Is this kinusaiga tutorial suitable for beginners? Yes. It assumes no sewing experience. Start with a design that has large pieces.
How long does a kinusaiga piece take? A simple design with large pieces takes a few hours. Detailed landscapes can take several sessions.
Can kids do kinusaiga? Yes, with help. An adult should do the cutting. Children can choose fabrics and do the tucking.
Where does kinusaiga come from? It developed in Japan from the kimekomi technique, traditionally with silk from old kimono. Read more in what is kinusaiga.
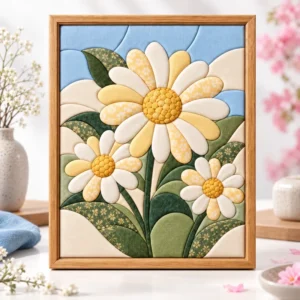
Ready to try? Pick a design with large shapes from our flower kinusaiga patterns or animal kinusaiga patterns, or see 7 simple kinusaiga patterns for beginners.