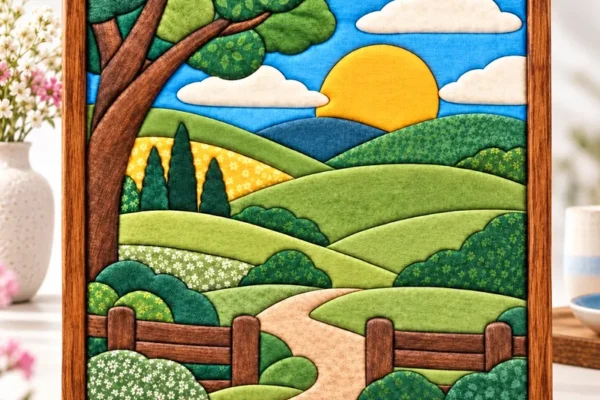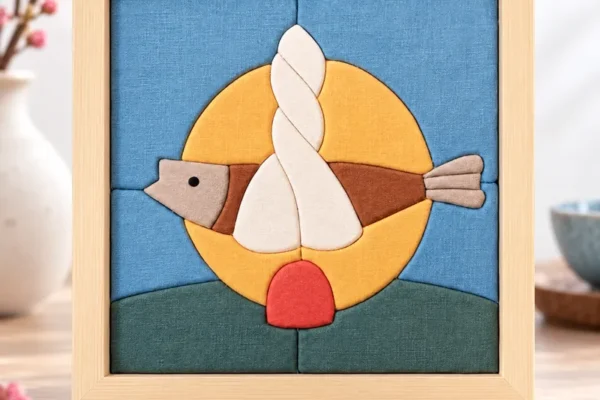
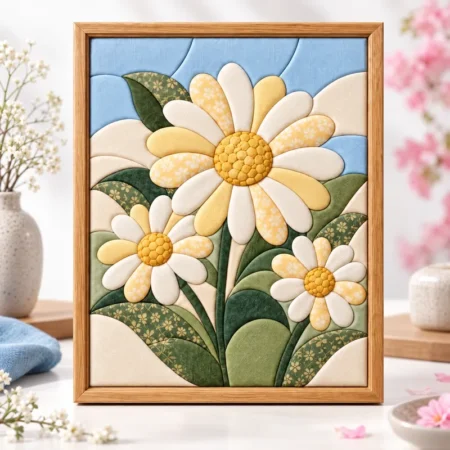
What is kinusaiga? Kinusaiga (絹彩画) is a traditional Japanese textile craft where fabric pieces (traditionally upcycled kimono silk) are tucked into narrow grooves incised into a foam or wood board to create textured, three-dimensional fabric mosaics without needle or thread.
On this page
The Origins and History of Kinusaiga Art
It is a relatively modern evolution of an ancient Japanese textile tradition. It was invented in 1987 by Japanese professor and artist Maeno Takashi. Inspired by the traditional art of Kimekomi-ningyo (木目込み人形)—an 18th-century doll-making technique originating at Kamigamo Shrine in Kyoto where silk fabric folds were tucked into carved wooden figures—Maeno reimagined the technique as a flat, framed pictorial medium.
At its core, the craft embodies the Japanese cultural philosophy of Mottainai (a sense of regret concerning waste). Historically, families would dismantle worn vintage silk kimonos and repurpose every vibrant scrap of chirimen (crepe silk) to create exquisite landscapes, flora, birds, and portraits that could be preserved for generations.
How Kinusaiga Works: The Step-by-Step Technique
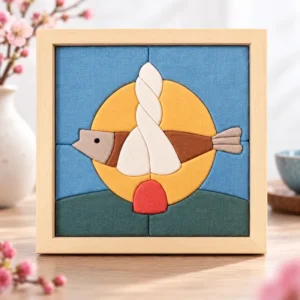
Unlike traditional quilting, patchwork, or embroidery, this craft requires absolutely no stitching, needles, or adhesive. The entire artwork is assembled purely through mechanical friction and tension. Here is how the process works from start to finish:
- Select Your Pattern: A precision-designed pattern serves as the structural blueprint. Each segment is numbered, and the lines represent the grooved boundaries between colors.
- Transfer the Pattern onto Foam Board: Using carbon transfer paper or a tracing wheel, trace all pattern contours directly onto a high-density extruded polystyrene (XPS) foam board (typically 10mm thickness).
- Incise the Pattern Grooves: Using a sharp 30-degree craft scalpel held perpendicular to the foam surface, cut along every line to a uniform depth of 2.0 mm to 3.0 mm. Slicing cleanly without tearing the foam cells ensures crisp seam lines.
- Cut Fabric with Seam Allowances: Using a duplicate paper pattern piece as a cutting template, cut a fabric scrap leaving a consistent 1.5 mm to 2.0 mm allowance around all borders.
- Tuck the Fabric into the Grooves: Position the fabric over its corresponding numbered section on the foam. With a blunt tucking spatula, bone folder, or kimekomi tool, gently press the raw fabric edges into the incised channels, smoothing outward to eliminate wrinkles.
- Frame and Display: Once all segments are tucked, the perimeter borders are tucked into edge channels, creating a gorgeous tactile bas-relief artwork ready for framing.
Essential Kinusaiga Tools & Materials Checklist
To get started, you only need a handful of specialized supplies:
| Tool / Material | Function | Best Choice for Crafters |
|---|---|---|
| High-Density XPS Foam Board | Provides the resilient substrate that grips tucked fabric edges securely. | Extruded polystyrene (10mm thick, 35+ kg/m³ density). |
| Craft Scalpel / Precision Knife | Creates clean, vertical 2–3mm incisions along pattern lines. | 30° angled craft knife with replaceable carbon blades. |
| Blunt Tucking Spatula / Awl | Presses fabric margins into foam grooves without puncturing or tearing delicate silk. | Stainless steel micro-spatula or traditional kimekomi awl. |
| Printable Patterns (PDF) | Numbered full-scale line art blueprint with grain indicators. | Patterns Of Crafts printable digital kinusaiga pattern templates. |
| Textile Scraps | Forms the colorful mosaic surface. | Vintage kimono silk, chirimen crepe, or fine quilter’s cotton. |
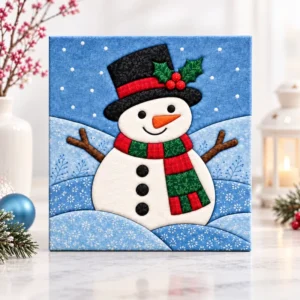
Choosing & Working with Kinusaiga Patterns
The foundation of every successful Japanese fabric picture is a well-engineered kinusaiga pattern. When selecting a pattern, look for the following essential qualities:
- Clear Shape Hierarchy: Beginner patterns feature larger geometric or floral shapes with gentle curves (15–30 pieces), while master patterns feature delicate micro-insets and multi-tonal shading (75–200+ pieces).
- Grainline Direction Markers: Silk and satin reflect light dynamically depending on their warp and weft orientation. Professional patterns specify grain direction to achieve realistic depth and shimmer across landscapes and petals.
- Calibrated Tuck Margins: High-precision PDF patterns include offset cutting lines so your fabric pieces fit snugly without crowding the incisions.
Kinusaiga vs Kimekomi vs Quilting: What’s the Difference?
While the craft shares historical lineage with other textile traditions, it offers unique advantages:
- Kinusaiga vs Kimekomi: Traditional kimekomi applies fabric tucking to three-dimensional carved wooden dolls. The newer craft adapts this technique to flat and bas-relief wall panels, making it an accessible picture-making art.
- Kinusaiga vs Traditional Quilting: Traditional quilting requires measuring seam allowances, stitching with needle and thread, and binding multiple layers. It is entirely stitchless, allowing sharper angles, zero puckering, and immediate tactile satisfaction.
Frequently Asked Questions About Kinusaiga
What is kinusaiga art?
Kinusaiga is a traditional Japanese craft where fabric pieces (traditionally upcycled kimono silk) are tucked into narrow grooves incised into a foam or wood board to create textured, three-dimensional fabric mosaics without any sewing or needlework.
Can beginners do kinusaiga?
Yes! It is one of the most accessible textile crafts for beginners because it requires no needle, thread, or sewing machine skills. By starting with a simple beginner pattern, anyone can complete a framed fabric mosaic in an afternoon.
Where can I find printable kinusaiga patterns?
Patterns Of Crafts offers an extensive collection of digital printable kinusaiga patterns in high-resolution PDF format. Each pattern includes full-scale stencils, numbered piece layouts, color guidance, and step-by-step instructions. Explore our Kinusaiga Patterns Shop to get started.
What does kinusaiga mean?
Kinusaiga (絹彩画) combines three Japanese words: kinu (silk), sai (color) and ga (picture). It means “a colored picture made of silk”, which describes the craft well: a picture built from pieces of fabric.
How to pronounce kinusaiga
Say it in four syllables: kee-noo-sigh-gah (ki-nu-sai-ga), with even stress on each syllable.
Do you need a needle or thread for kinusaiga?
No. It is a no-sew craft. The fabric is held in place by pushing its edges into grooves cut into a foam board, so you never use a needle, thread or glue on the fabric.
What foam to use for kinusaiga?
Rigid extruded polystyrene (XPS) foam board, usually 10–25 mm thick, works best because it cuts cleanly and holds the groove. Avoid beaded white styrofoam, which crumbles. The tools and materials checklist earlier in this guide lists everything else you need.
The craft grew out of a tradition of reusing old kimono silk and Japanese crepe such as chirimen. Ready to start? Choose a design from our printable kinusaiga patterns, read the best fabrics for kinusaiga, and learn how to read a kinusaiga pattern before you cut.