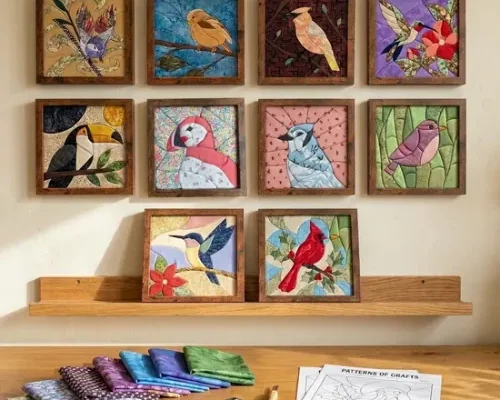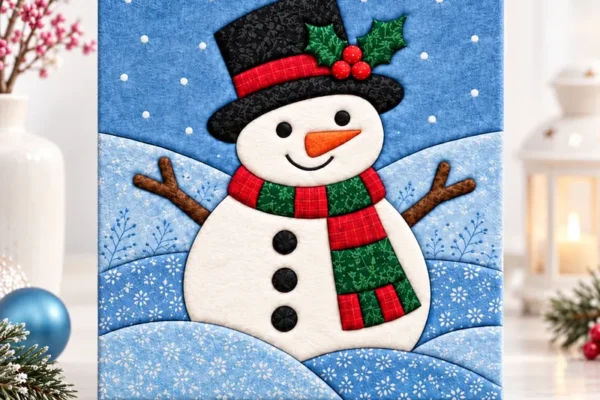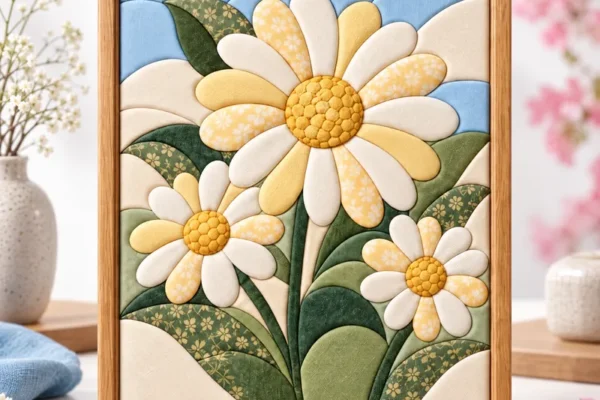
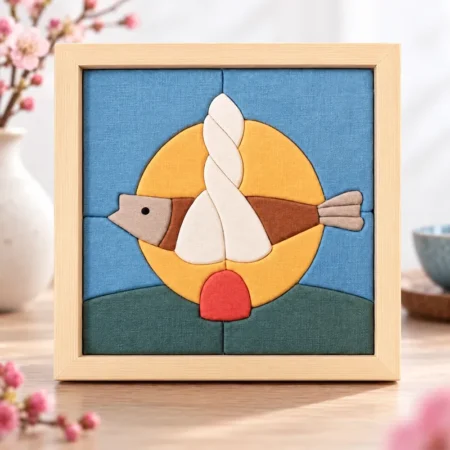
The best simple kinusaiga patterns for beginners have a few large pieces, soft curves and clear color areas. This guide shares 7 easy design ideas. It also explains what pattern designers check to make a design beginner-friendly, and shows how to turn any simple drawing into your own free printable kinusaiga template.
On this page
Kinusaiga patterns for beginners: what to look for
These are the five things that decide whether a pattern is easy or hard:
- Piece count. Fewer pieces means fewer grooves and fewer chances to slip. A first project should feel finished in an afternoon.
- Piece width. Narrow slivers are hard to tuck on both sides. Beginner designs avoid pieces thinner than a fingertip.
- Curves, not sharp corners. Gentle curves are easy. Deep inside corners (like a star point) need extra care to keep the fabric smooth.
- Clear color areas. Sky, ground and one main shape is a classic beginner layout.
- Numbered templates. Numbers and a color map stop you from guessing which fabric goes where.
7 simple kinusaiga patterns to try
- Sunrise over hills. A half sun, two or three hills and a sky. Probably the most popular first piece.
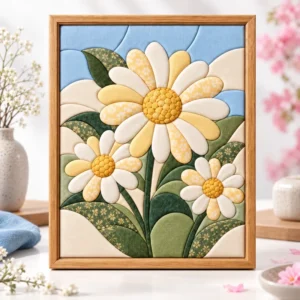
- A single big flower. One bloom with round petals, a center and a few leaves. Try our sunflower kinusaiga pattern.
- Cherry blossom branch. Round petals on a curved branch against a plain sky. See the cherry blossom pattern.
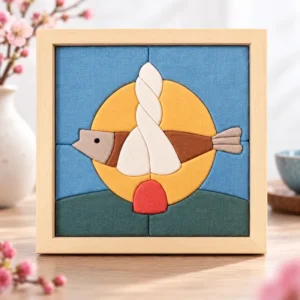
- A koi fish. One curved body, fins and water. Our koi fish kinusaiga pattern uses a patterned fabric for the scales.
- A round little bird. A circle body, wing and branch, like the perched robin.
- A bunny. Rounded ears and body, ideal for a nursery: the meadow bunny pattern.
- A simple wave. Three or four curved bands of blue. Once you are confident, try the more detailed ocean wave.
All seven are simple kinusaiga patterns because each has one main shape and a plain background.
How to make your own free kinusaiga template in 6 steps
You can make a free template from any simple picture you have the right to use, such as your own drawing, a child’s drawing or a photo you took.
- Simplify the shapes. Trace the outline of the main subject and reduce it to about 15–30 shapes. Round off tight corners.
- Close every shape. Each line must connect to another line or to the border, otherwise there is nowhere to tuck the fabric.
- Check the widths. Widen any shape that is thinner than a fingertip, or merge it with a neighbor.
- Number the pieces. Number from the background forward, so you tuck big areas first.
- Make a color map. Color a copy, or write a color next to each number.
- Print at the frame size. Scale the drawing so it fits your foam and frame. Print at “actual size” so it does not shrink.
Free kinusaiga patterns vs paid patterns
Free printable kinusaiga patterns from blogs and Pinterest are a great way to practice. The difference with a paid pattern is usually in the testing: a paid pattern should have checked piece widths, numbered templates, grain markers and a color guide, so each piece tucks cleanly. If a free pattern keeps causing wrinkles or slipping fabric, the design is often the problem, not you.
Whichever you use, read how to read a kinusaiga pattern first, and check our kinusaiga supplies list. The Japanese crepe fabric called chirimen is lovely once you move beyond cotton.
Quick answers
What is the easiest kinusaiga pattern? A sunrise or a single flower with large petals: a low piece count (beginner designs usually have about 15–30 pieces) and no thin slivers.
Can I use a coloring page as a template? Only simple ones, and only if you have the right to use the image. Most coloring pages have too many small details.
Where can I find simple kinusaiga patterns? Our shop has several simple kinusaiga patterns with large shapes, such as the sunflower, cherry blossom and robin designs. You can also draw your own with the steps above.
Ready to start? Browse all printable kinusaiga patterns or read 7 tips for choosing your first pattern.