Your first kinusaiga pattern should build confidence, not test your patience. The right beginner design has large, simple shapes and a short color list. Use these seven tips to choose a first project you will actually finish and love.
7 tips for choosing your first kinusaiga pattern
1. Start With a Low Piece Count
Beginner kinusaiga patterns typically have 15–30 pieces. Fewer, larger shapes mean fewer grooves to incise and more forgiving tucking — a perfect confidence builder before you tackle 100+ piece masterpieces. For a first kinusaiga pattern, fewer pieces is almost always better.
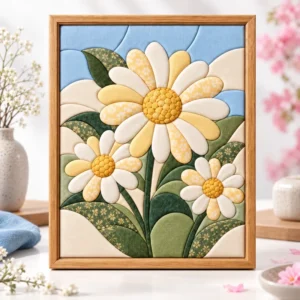
2. Favor Bold, Simple Shapes
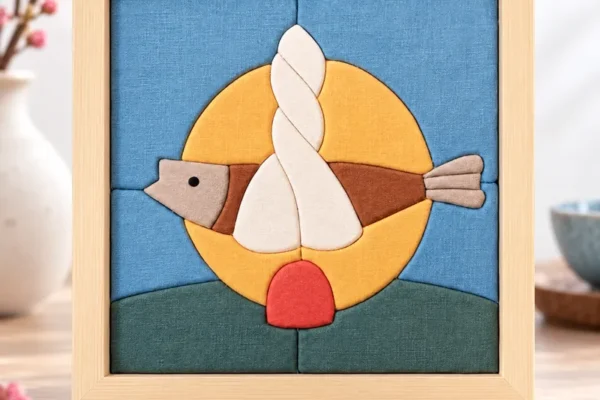
Look for gentle curves and clear boundaries rather than tiny slivers. Big shapes are easier to cut, align and tuck, and they still look striking once framed.
3. Keep the Palette Small
A first project with 4–6 colors is far easier to manage than one needing subtle multi-tonal shading. You can always graduate to gradients later. A short colour list keeps your first kinusaiga pattern calm and easy to plan.
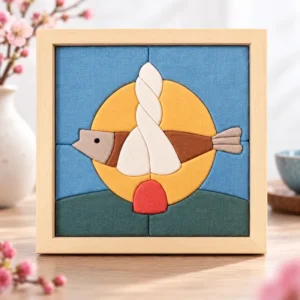
4. Pick a Theme You Love
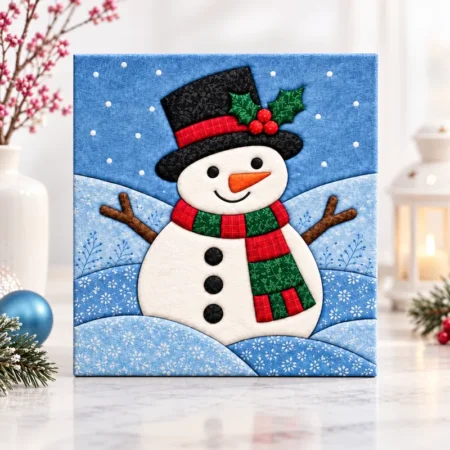
Motivation matters. Browse by theme and choose something you’ll enjoy staring at: an Animal friend, a Flower study, a calming Natural landscape, or a Christmas design for the season. You will spend hours with your first kinusaiga pattern, so choose a subject that makes you smile.
5. Check the Template Quality
A good beginner pattern includes full-scale printable sheets, clearly numbered pieces, grain markers and a color key. These details are what make the difference between a relaxing afternoon and a frustrating one.
6. Gather the Right Tools First
Before you start, have a 10mm XPS foam board, a 30-degree craft scalpel, a blunt tucking spatula, carbon transfer paper and fine fabric scraps ready. Starting with everything on hand keeps your momentum going.
7. Give Yourself a Finishable Scope
Choose a size you can complete in one or two sittings. Finishing a small piece teaches the full process end-to-end and makes the next, larger project far less intimidating.
Ready to Begin?
Browse beginner-friendly designs in our kinusaiga pattern shop. If you’d like the full technique first, read What is Kinusaiga? — then pick your first kinusaiga pattern and start tucking.
Our Beginner Picks
If you want a shortcut, these designs in our shop have large, simple shapes and a short color list.
On this page
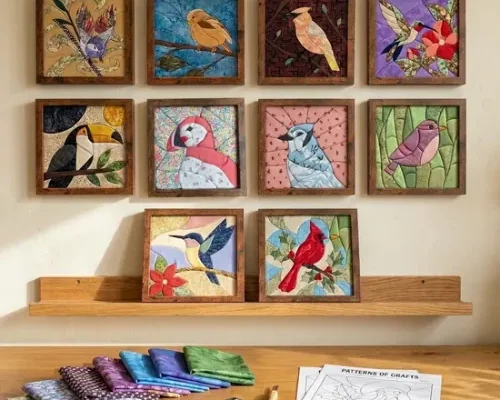
- 13 Birds Kinusaiga Pattern Bundle: start with the Sparrow or the Robin, then keep going.
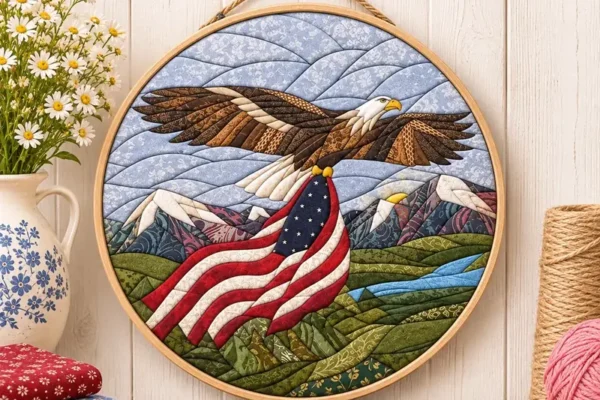
- USA Eagle & Flag Kinusaiga Pattern: a beginner-level picture in two sizes.
First Kinusaiga Pattern Questions
Is kinusaiga hard for a complete beginner? No. If you can use a craft knife safely and cut fabric with scissors, you can finish a simple piece. The skill grows with practice, which is why the first pattern should be easy.
What size should my first piece be? Small to medium. A smaller panel has fewer, shorter grooves and is easy to frame in a standard shadow box.
Kinusaiga shares its logic with patchwork: simple shapes in well-chosen fabrics make a strong picture. Before you start, learn how to read a kinusaiga pattern and which fabrics work best.
3 Mistakes to Avoid With Your First Kinusaiga Pattern
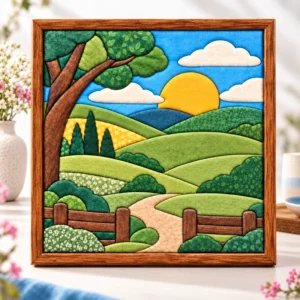
- Choosing the most beautiful design instead of the easiest. Save the detailed landscape for your third or fourth piece. A finished simple picture teaches more than an unfinished complex one.
- Buying fabric before choosing the pattern. Pick the pattern first, then match fabrics to its color key. It saves money and avoids colors that clash.
- Rushing the scoring. Clean, even grooves make tucking easy. Take your time with the knife, change blades often, and the rest of the project goes smoothly.
Most first-timers are surprised by how calm and relaxing the tucking stage really is. Once the grooves are cut, the rest is quiet, repetitive work that is easy to pick up and put down between other things.