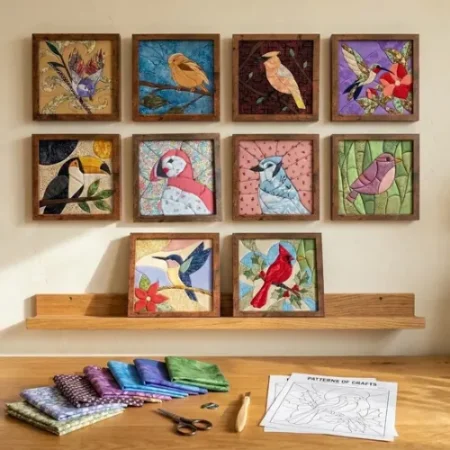
Kinusaiga birds are one of the nicest ways to start this no-sew fabric craft. A bird has a clear outline, a few bright colors and a small size, so a first picture stays manageable. Here are the 13 birds in our new printable bundle, and how to choose your first one.
On this page
Why kinusaiga birds are a good project
Kinusaiga is the Japanese craft of tucking small pieces of fabric into grooves cut in a foam board. There is no needle and no thread. If the craft is new to you, read what kinusaiga is first.
Birds suit the technique for three reasons:
- Clear shapes. A body, a wing, a tail and a branch are easy to see and easy to cut.
- Few colors. Most birds need only 4 to 6 fabrics.
- Good use of scraps. Small prints look like feathers, so leftover fabric is enough.
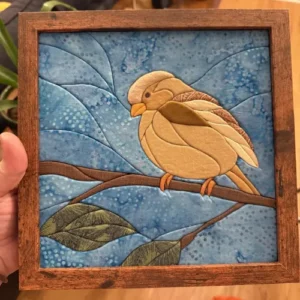
The 13 birds in the bundle
Our 13 Birds Kinusaiga Pattern Bundle is a printable PDF download. Each design has clean, well-spaced lines and numbered sections, so choosing fabric is simple. The 13 patterns are:
- Northern Cardinal
- Blue Jay
- Cedar Waxwing (Berry)
- Cedar Waxwing (Branch)
- Hummingbird (Flower)
- Hummingbird (Lily)
- Hummingbird (Trumpet Vine)
- Robin
- Blue Tit
- Sparrow
- Toucan
- Atlantic Puffin
- Flying Geese
Which bird to make first
For a first picture, choose a bird with a round body and large pieces, such as the Sparrow or the Robin. Keep the hummingbirds for later: thin beaks and narrow wings need more care with the knife. The Northern Cardinal and the Blue Jay make good second projects, because each has one strong color.
Our guide on how to choose your first kinusaiga pattern gives 7 more tips.
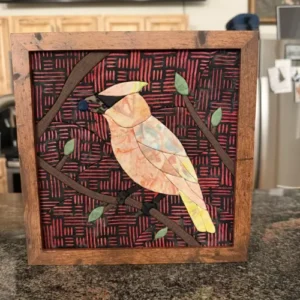
Fabric tips for feathers
- Use small prints for wings. Tiny dots, stripes or leaves read as feathers from a distance.
- Keep the background calm. One plain or softly patterned fabric makes the bird stand out.
- Add one strong color. A red cardinal or a blue jay needs one bright fabric; the rest can be quiet.
- Choose thin cotton. It tucks into the grooves more easily than thick cloth.
For more detail, see the best fabrics for kinusaiga.
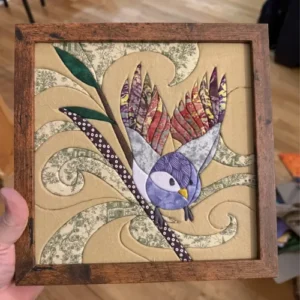
Choose your size
Every bird comes in 3 square sizes, each as its own PDF printed at actual size:
- 5.5 x 5.5 inches: small blocks, shelf pieces, ornaments and beginner practice.
- 8.8 x 8.8 inches: fits standard 8×8 or 9×9 inch square frames.
- 10.10 x 10.10 inches: full-size wall art.
How to display your finished birds
One bird looks good on its own. Several together look even better. Here are a few simple ideas:
- Make a set. Three or four pictures in the same frame style make a tidy group on a wall.
- Use a picture shelf. Lean small frames on a narrow shelf, so you can swap them when you finish a new one.
- Follow the seasons. A cardinal suits winter, and a hummingbird suits summer.
- Give one away. A small framed picture is an easy handmade gift.
Keep your pictures away from strong direct sun, which can fade fabric over time.
How to start
- Download the bird pattern bundle and print one bird at 100%.
- Gather foam board, a craft knife, a tucking tool and fabric scraps. Our kinusaiga supplies list has the details.
- Follow the kinusaiga tutorial: transfer the lines, cut shallow grooves, then tuck the fabric.
- Frame your bird and start the next one.
With 13 designs, these birds can fill a whole wall, one small picture at a time. You can find more designs in our animal kinusaiga patterns.